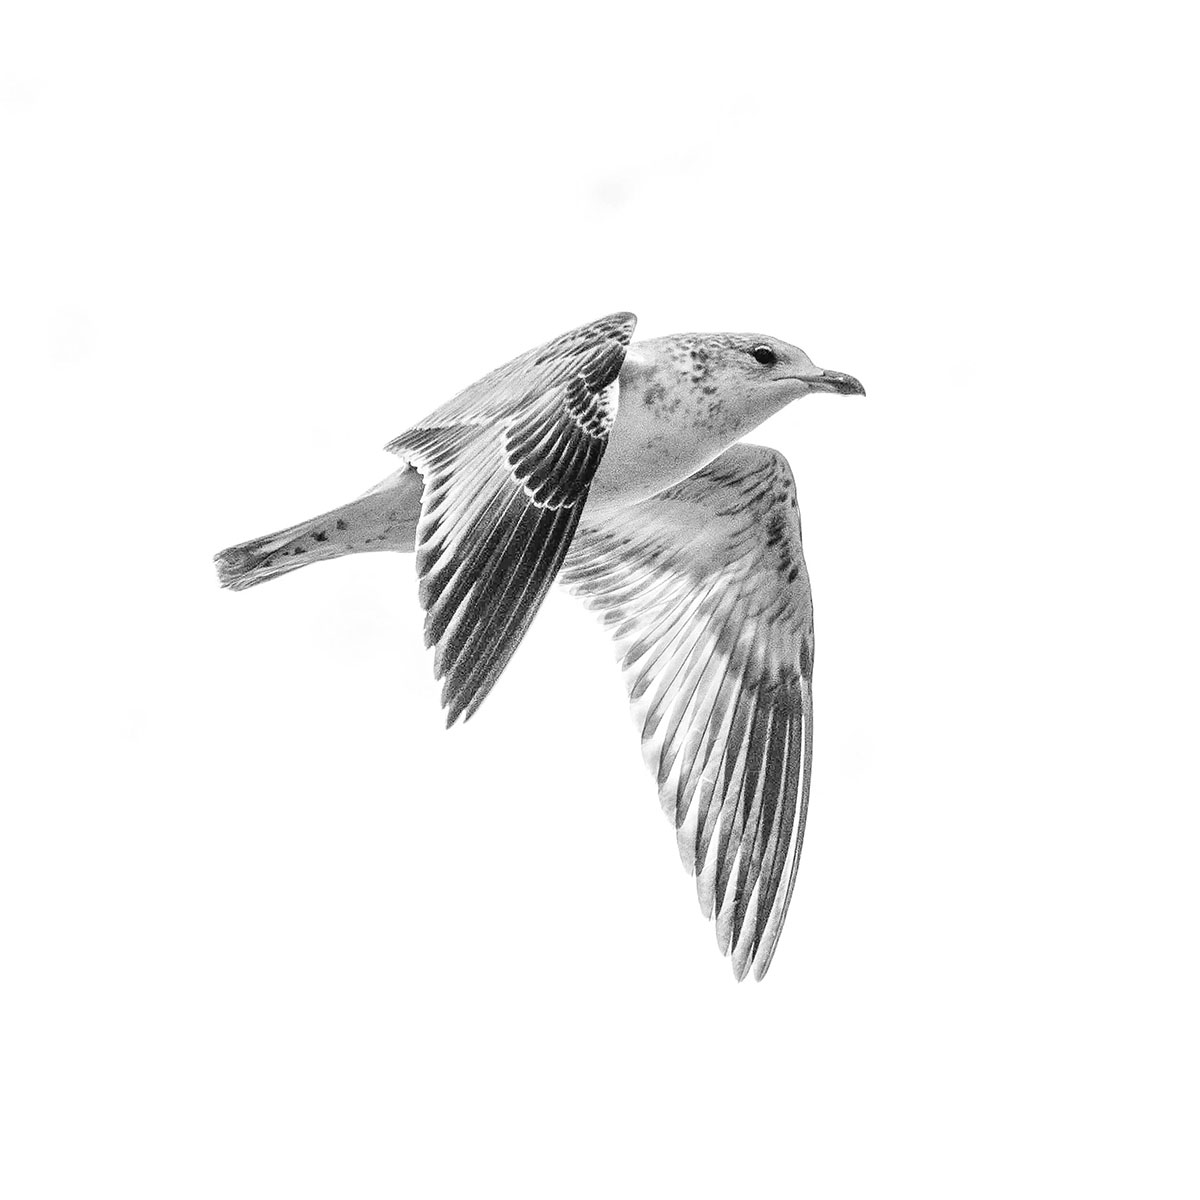
Four years ago, while on a walk around the lake with my camera one afternoon, I began to hear the sound of seagulls making a tremendous racket and then saw quite a number of them in the sky, darting around in all directions above the shore. They were very active and making quite a squall. As I got closer, I noticed a young couple feeding them near the shoreline. I saw this as an opportunity to get some Seagull in action shots so moved closer. It was absolute pandemonium at this point and almost impossible to plan a shot. The couple had left some bread on the shore and I began trying to toss some of it up in the air to draw the Seagulls closer with bread in one hand while holding my camera with the other, then quickly juggling it all to try “grab” a shot. This whole planned process was not working so I just set my camera to a shutter speed that would freeze the fastest movement and action, while not opening the aperture so much that I would lose my depth of field. Fortunately, it was a bright sunny day so the ISO stayed low and I basically joined the mayhem and shot at will. When I downloaded the pictures that day, what I saw was pretty sad, and felt like a total loss. I didn’t go back to look at them, until recently. The attached picture looked hopeless from an exposure standpoint and the image of the seagull was small and in the corner of the frame. Fortunately, I was shooting with a full-frame Nikon D750 DSLR so there was a lot of room to crop and still hold the image together. In the end, I pulled the JPG image of the one attaches scene, and made adjustments to it only in Lightroom. To get this image at 1/4000 of a second (didn’t realize I set it that high) and f10 with an ISO of 100 pleased me! Of course, this has compelled me to go back and look at the rest of the Seagull shots from that day to see what else I might find to work with!